[Tech/Tools/Devices used:- MAC 10.9.4, Appium 1.2.1, iPhone and Ipad(7.x version)]
While automating iOS apps (if it’s an hybrid app or web-app) in real devices, we often come across WebElements that are not able to be inspected by Appium. And,
hence can’t be automated directly. To overcome this we need 2 things:
1- We need to enable the “Safari Web inspector” in device for inspecting the Webelement via MAC’s safari browser.
2- Running “ios-webkit-debugger-proxy” for detecting the webelements while executing the script.
Below is the process that can be followed to automate such apps:
1- Enable the “Safari Web Inspector” in the iOS device
- Tap on the “Settings” icon.
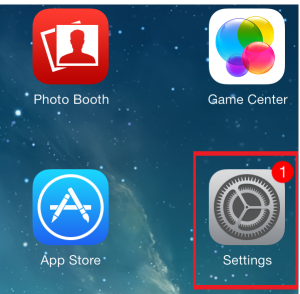
Settings icon - Tap on the “Safari” from the “Settings” list on left pane.

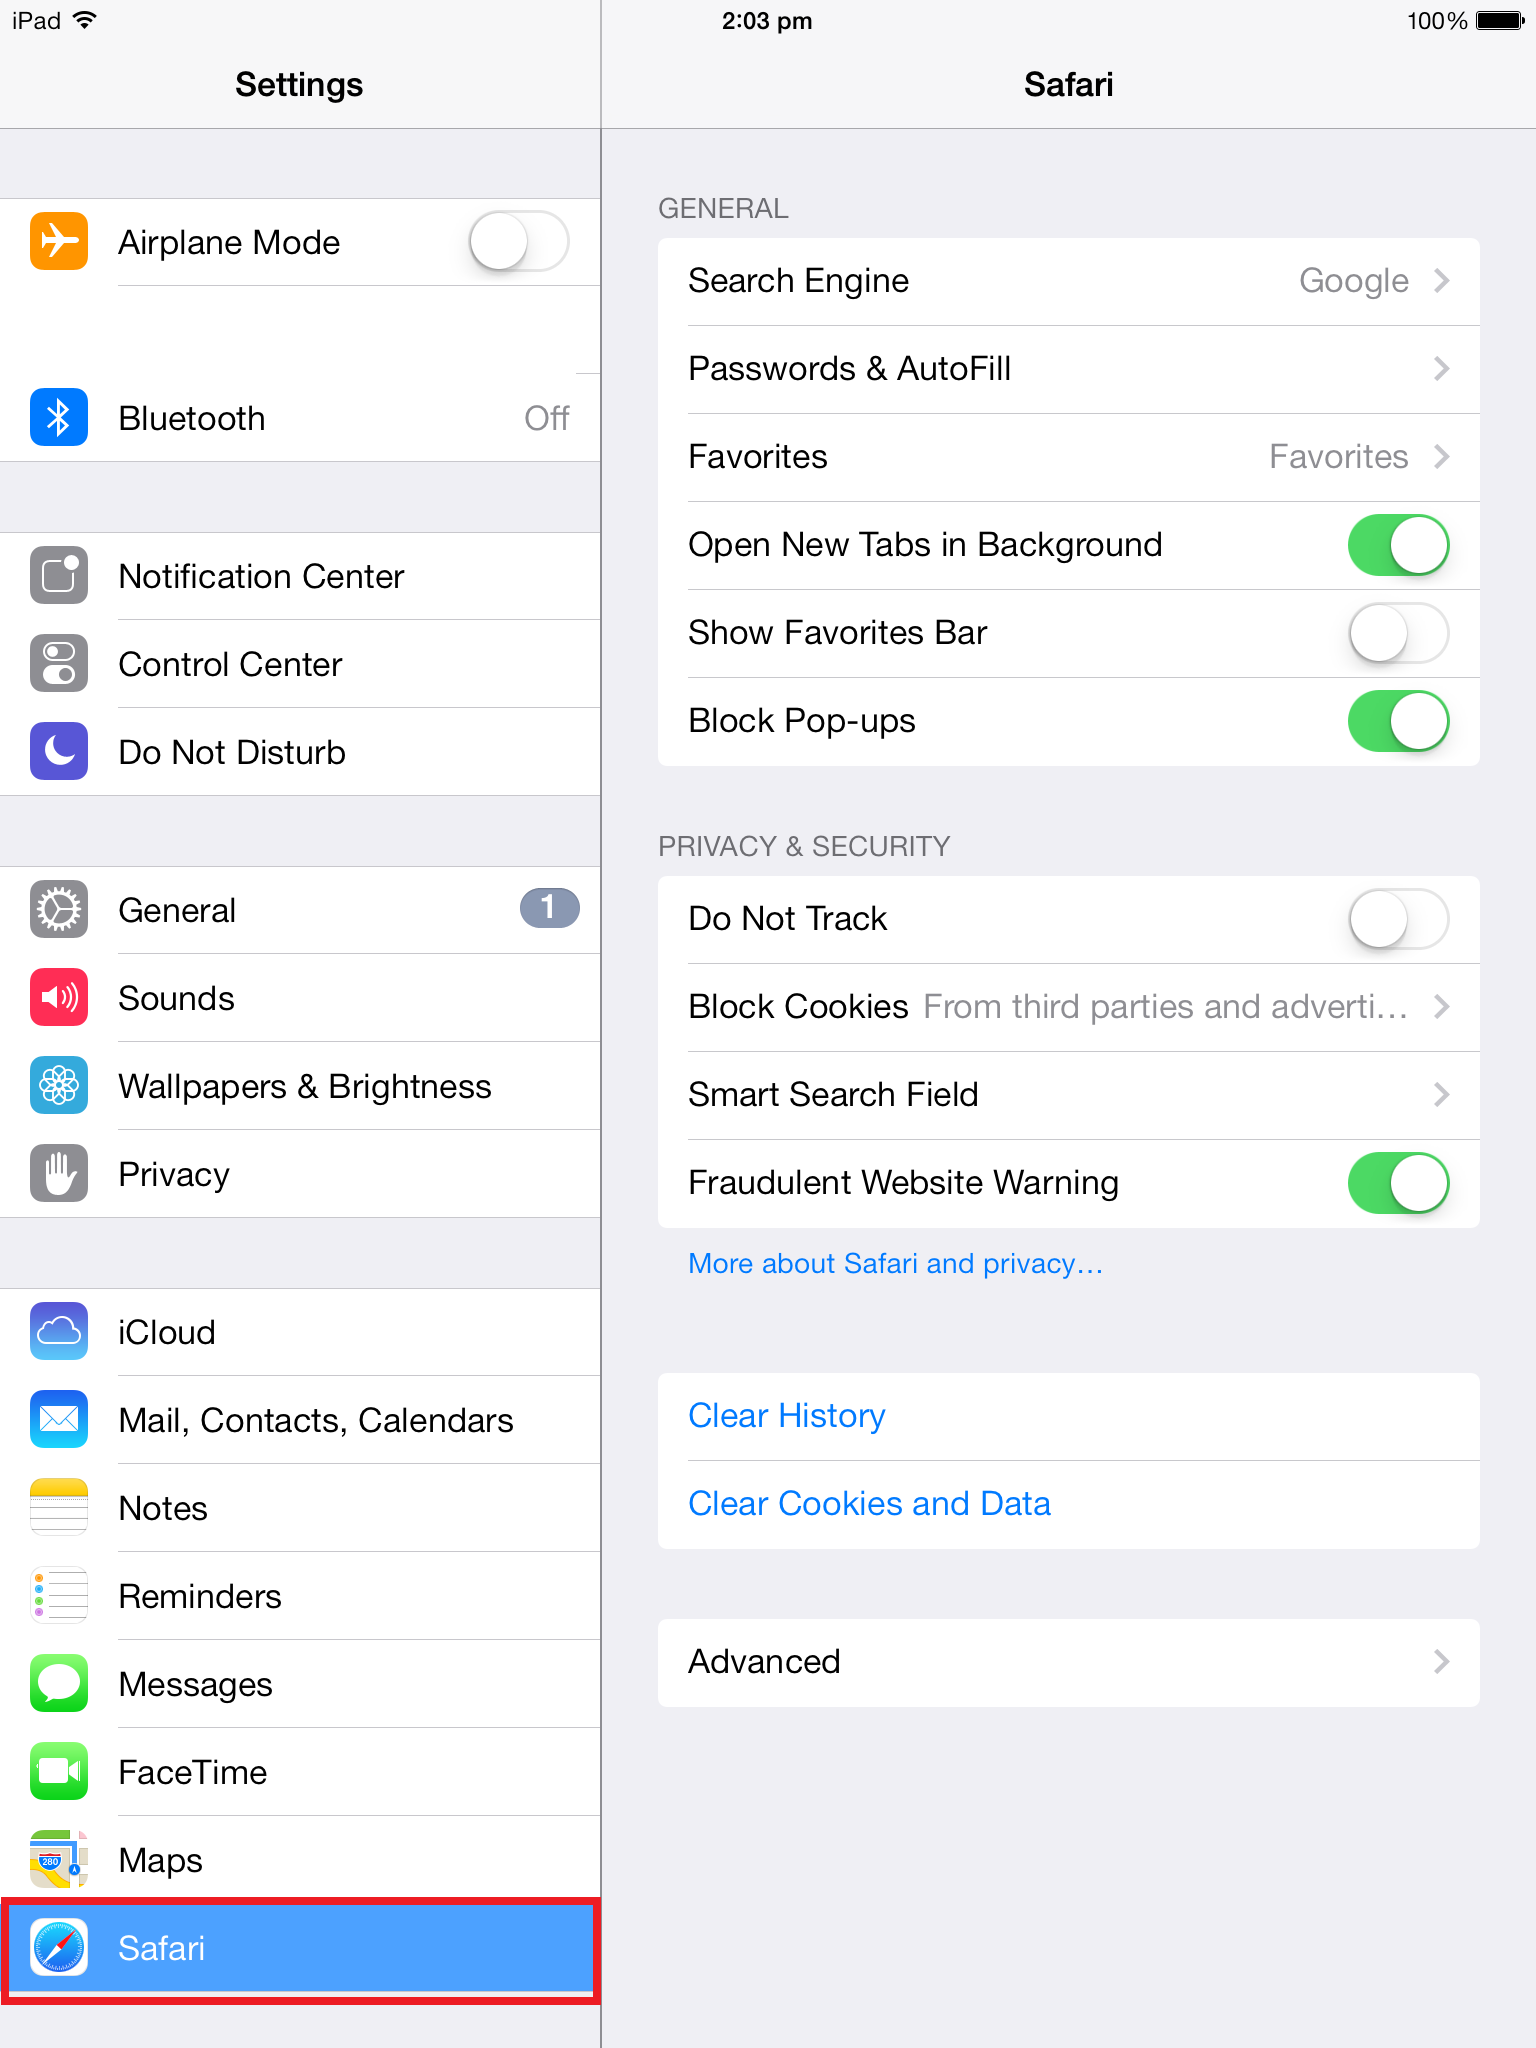
- Then, Tap on “Advanced” on the corresponding right pane.

- Here, toggle the switch to “ON” for “Web Inspector”.
|
|
|


2- Connect the Device using USB cable to the MAC.
3- Inspecting WebElements and getting the Locatable attributes, like: id, xpath, etc.
- From the device, launch the web-app or hybrid app, and navigate to the screen where there is a WebView.
- Open Safari browser in MAC.
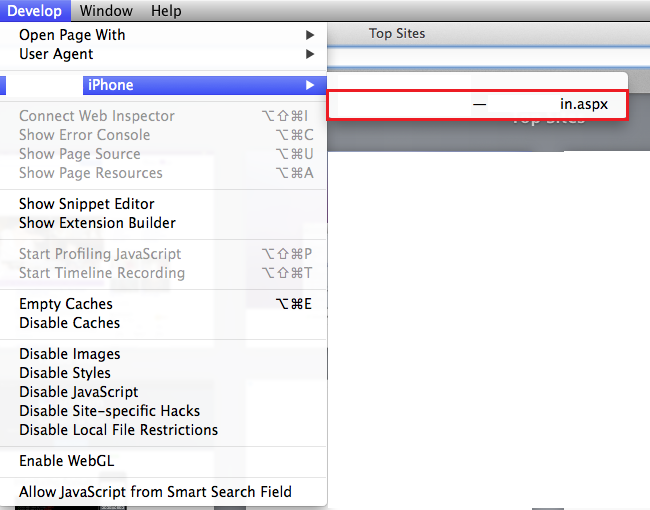
- Click on “Develop” in the Menu bar and the from the dropdown click on your device name.

- Besides it, the screen related to the WebView will be present. Click on it.
|
|
|

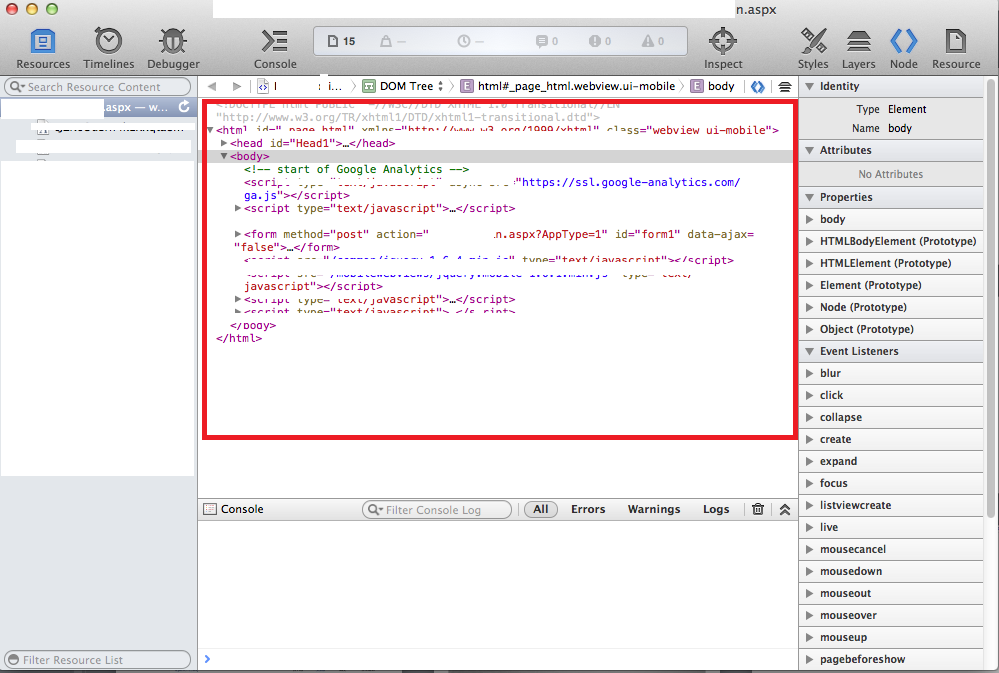
- It will Open the Safari’s Web-Inspector.
- Here, you can inspect the element by hovering over the code and the related the region will be highlighted in the device.
4- Framing xpath to be used for locating elements via automation script:

- Click on anywhere in the html code represented in the Safari Web Inspector.
- Now, press “Command Key + f”, which will open a search box atop.
- Here, you can frame your xpath, like: //div[@id=’txtBox’], then press Enter.
- The respective element is then highlighted in the html code.
- Now, you can hover over it, which will highlight the element in the device.
- Modify the xpath as per your needs and then use that in your code.
5- Install the “ios-webkit-debugger-proxy”
- Open ‘Terminal’ in the system;
- Navigate through these in the MAC:
Finder-> Go Button -> Applications->Utilities->Terminal
- Navigate through these in the MAC:


- Now, enter the below list of commands one by one ( The first command is only required if you don’t have brew installed.)
> ruby -e "$(curl -fsSL https://raw.github.com/mxcl/homebrew/go/install)"
> brew update
> brew install ios-webkit-debug-proxy
6– Now type the below command to start the ios-webkit-debug-proxy
ios_webkit_debug_proxy -c 0e4b2f612b65e98c1d07d22ee08678130d345429:27753 -d
“0e4b2f612b65e98c1d07d22ee08678130d345429” represents the UDID of the device so connected.
Upon running the ios-webkit-debugger, it will show up in terminal like this:

To fetch the UDID of a device that is connected;
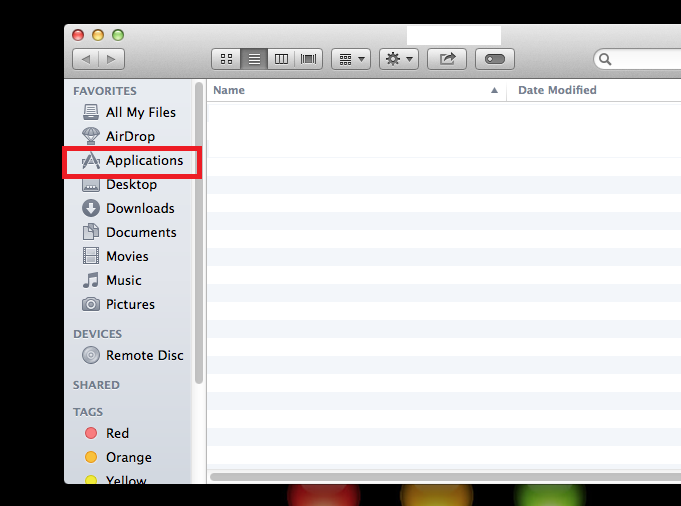
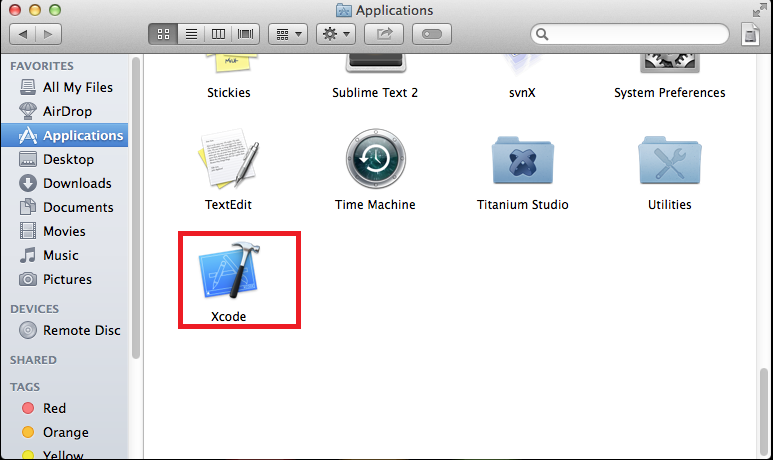
- Open XCode (Finder-> Applications->XCode).
- Click on “Window” in the menu bar of XCode

- Then, from the dropdown click on “Organizer “.

- Your device will be shown under the “Devices” column on the left pane of the opened window.

- Click on your device.
- In the right pange, you will find the details of your device.
- The “Identifier” value is the UDID of the device.

Note: The ios-webkit-debugger should be running at all times for the WebElements to be detected. However, you can stop it by using “Ctrl+C” in terminal.
7- Switching to WebView to automate the WebView Elements:
You can use the below chunk of code for switching to WebView before locating any WebElement :
Set<String> contexts = driver.getContextHandles();
for(String context: contexts){
if(context.contains("WEBVIEW")){
driver.context(context);
}
}
Note: In a hybrid app, you need to switch back to the NativeView in order to locate elements that are not part of WebView.
You can use the below chunk of code for that:
Set<String> contexts = driver.getContextHandles();
for(String context: contexts){
if(context.contains("NATIVE")){
driver.context(context);
}
}
